One of the first request OmicsDI team (January/2017) received after the official release of the resource was the possibility to login into the system and associated to the user the related public datasets. The original request was informally made by Professor Rob Beynon of Liverpool University (@astacus) and replied by Laurent Gatto @lgatt0 .
try @OmicsDI. That should do it, I believe
— Laurent Gⓐtt⓪ (@lgatt0) January 3, 2017
For more than 3 months, OmicsDI Team (www.omicsdi.org) has been working on this feature and we are proud to announce it formal release today. The user profile in OmicsDI follow has a simple aim:
Provide a central resource where scientist can aggregate all their public omics datasets previously deposited omics archives and repositories.
The OmicsDI Profile is built on two different components:
- The User Profile: General information about the User (Name, email, affiliation, Account connections).
- My Datasets: List of public datasets. Similar to Google Scholar for publications
OmicsDI User Profile.
The user can create an OmicsDI account using five different accounts: ORCID, ELIXIR, Twitter, GitHub and Facebook.
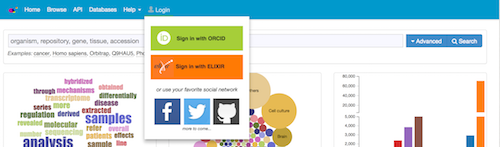
Figure 1: Login Button Home Page of OmicsDI
When the user is created, an empty profile is generated (Figure 2). The Profile contains two main sections: Edit Profile and Edit Datasets.
Figure 2: Profile Page in OmicsDI
When a user logs into OmicsDI some general information is pulled from the source account (e.g. ORCID). However, this data is incomplete. Then, the first step is to Edit Profile where the user can update the: photo, affiliation, email, short biography, Make my profile public. The last option (Figure 3) enables the non-registered users to see your profile (datasets).

Figure 3: Make my profile public
After the Profile is updated, the user can start adding (claiming) its datasets.
My Datasets
Users can use the OmicsDI Search Box (Figure 4) to search your datasets by using your name, last name, a title of your dataset or title of the publication related with your dataset.
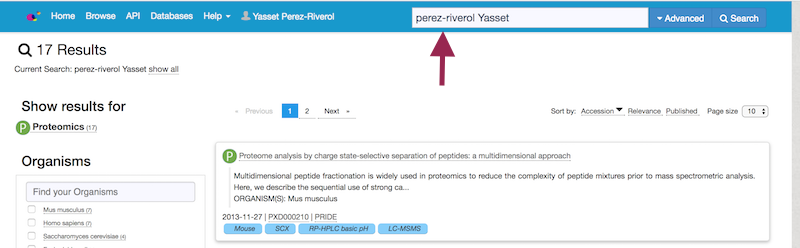
Figure 4: Search your datasets
After clicking the dataset of interest a link in the dataset page allow you to claim and add to your profile the dataset.
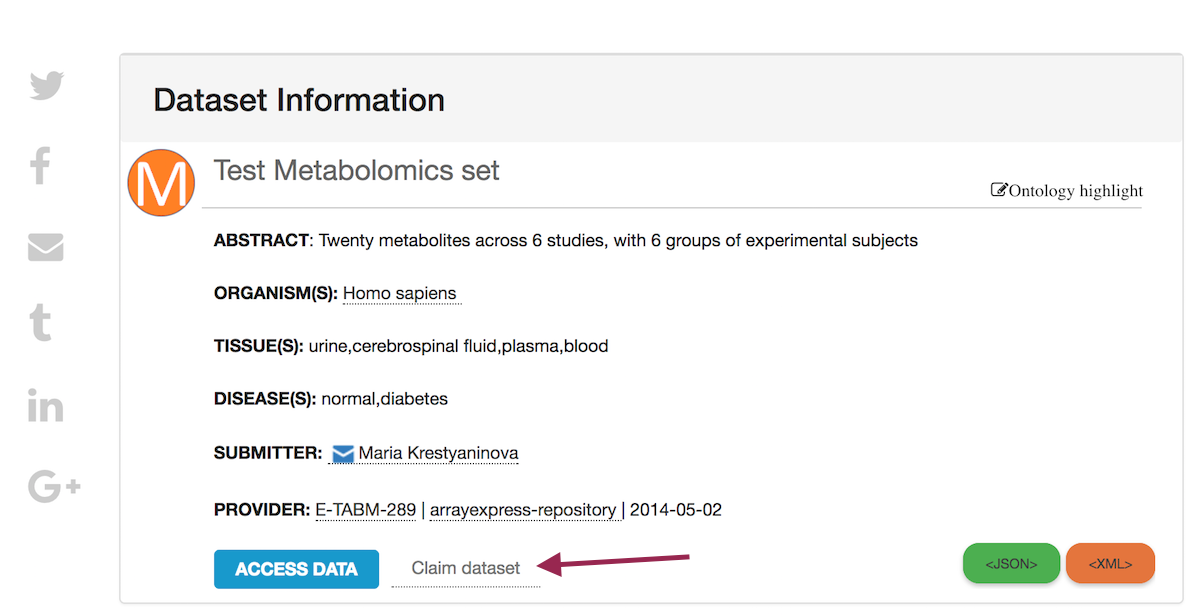
Figure 5: Claim Datset Button
Finally, a new button is shown (Figure 6) where the user can see their dataset added to the profile.

Figure 6: VIEW IN PROFILE
Finally, all datasets are listed in your profile. The datasets can be removed from your Profile by using the Edit Datasets in your Profile.